FaceBook Integration

  1. 1

    This feature sits under the Pull APIs section and is used to connect your Facebook assets to VS CRM for lead ingestion.

  2. 2

    To begin, click Go on FaceBook Integration.

  3. 3

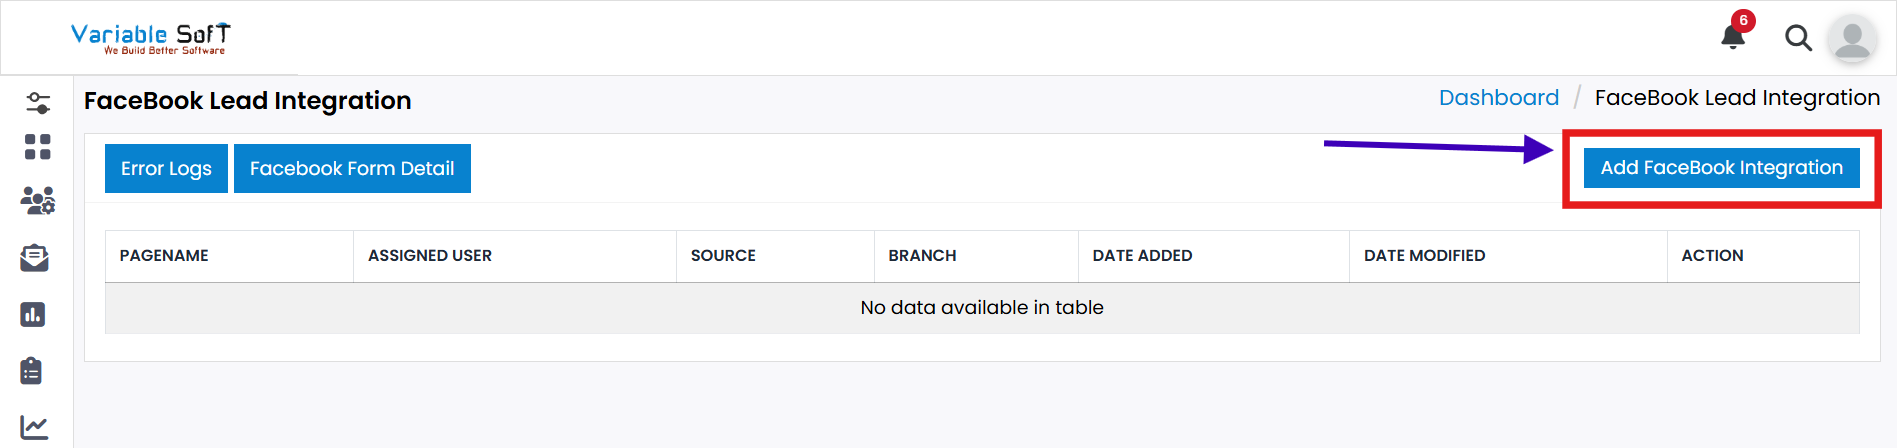
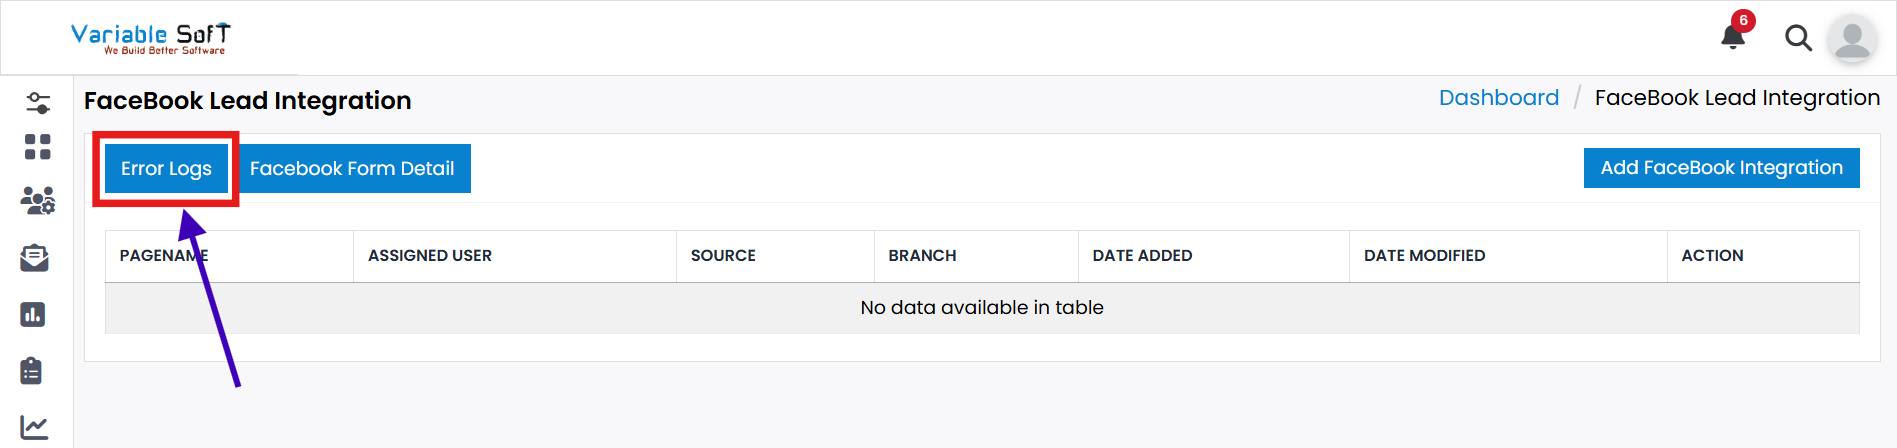
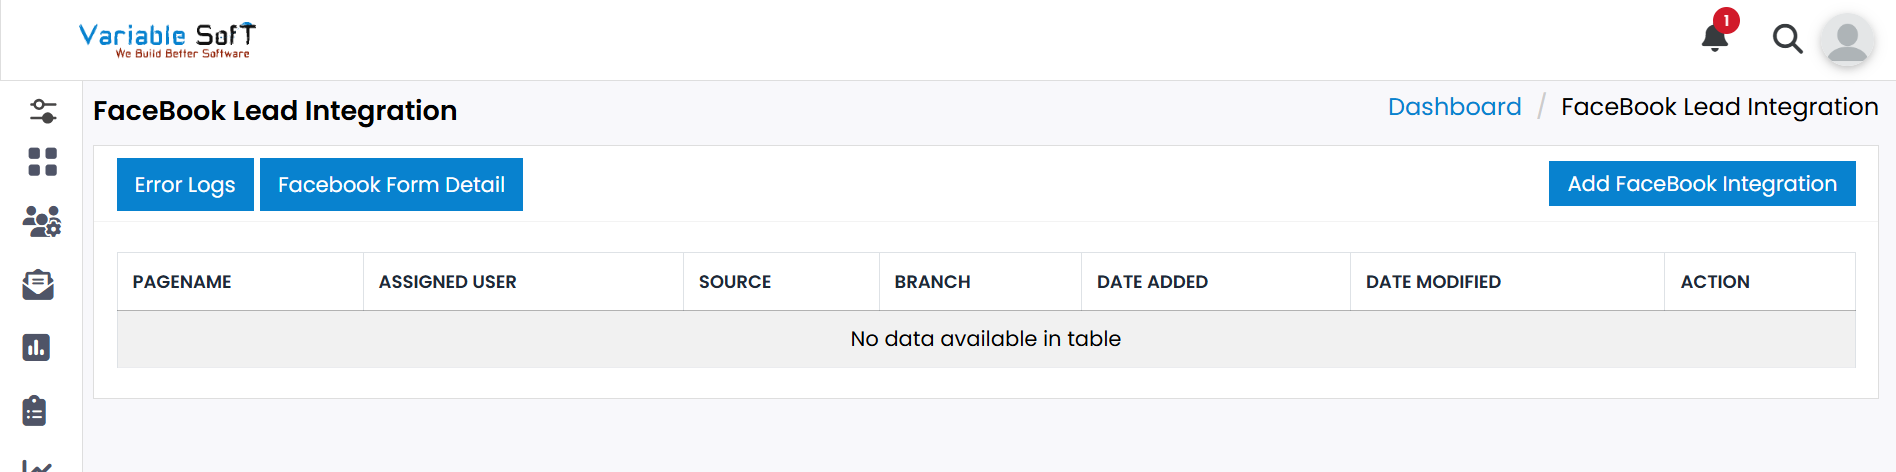
    The FaceBook Lead Integration page opens. From here you can:

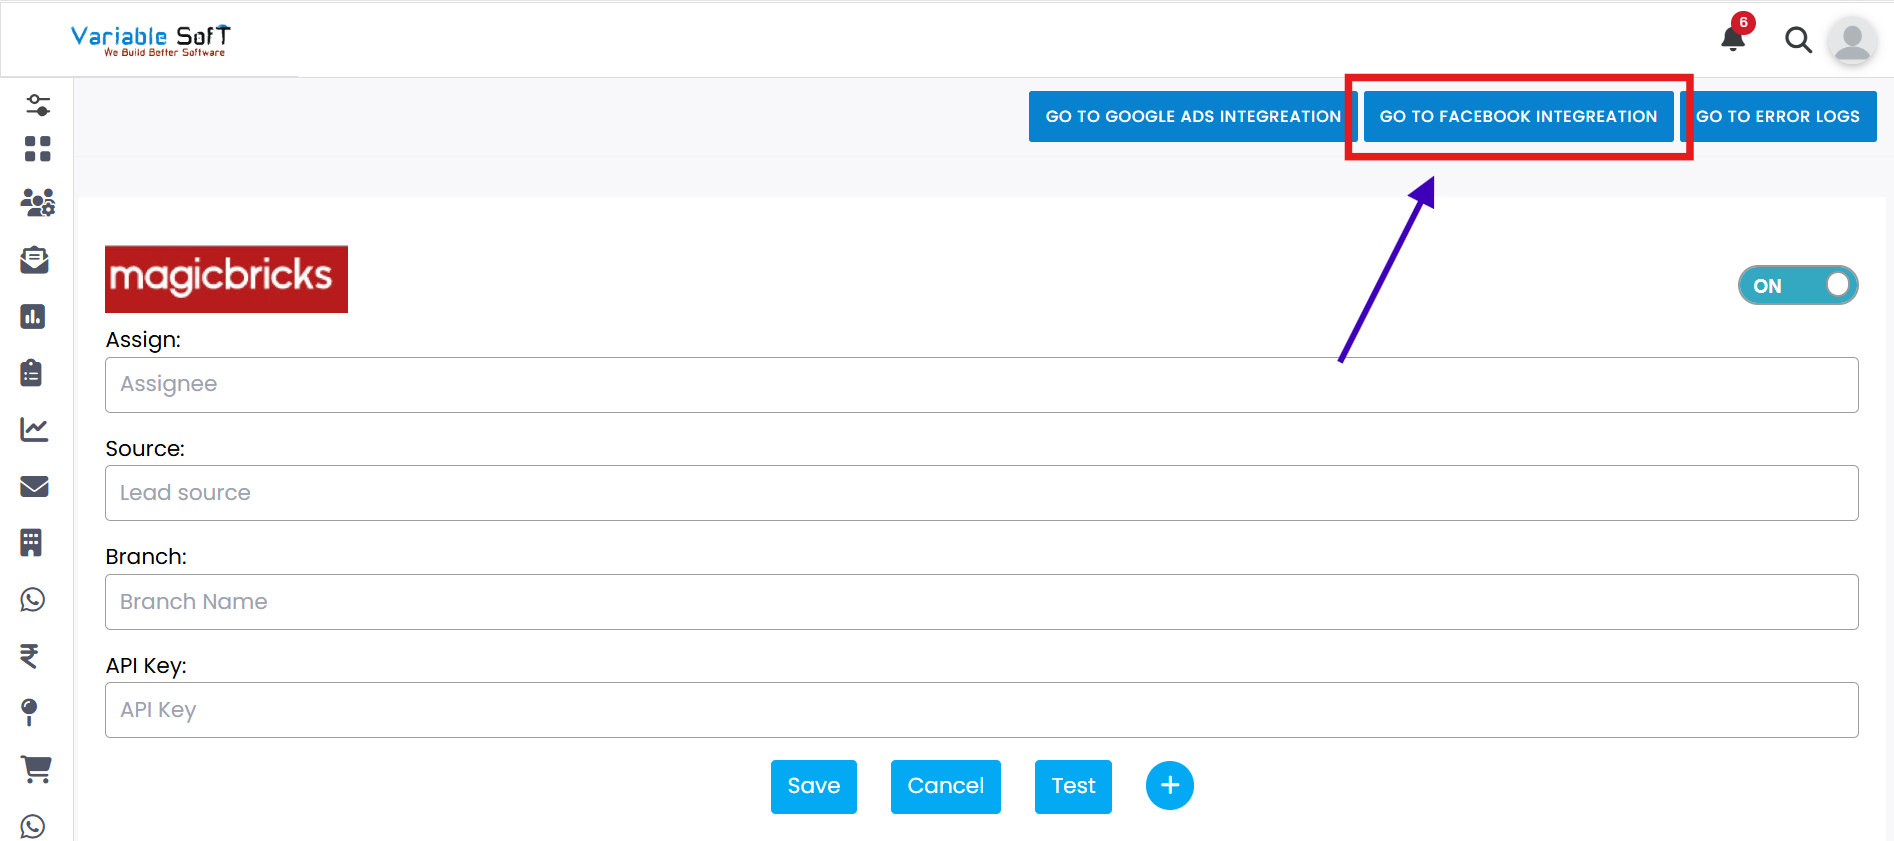
    • Add FaceBook Integration: Add a new Facebook connection.
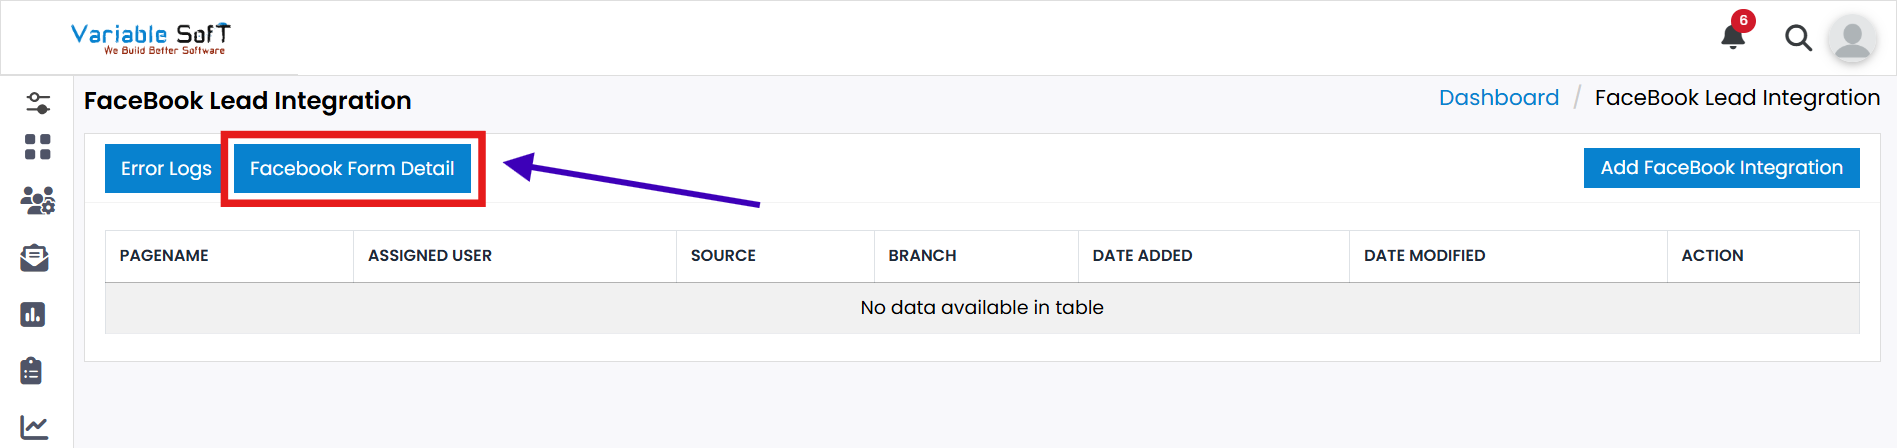
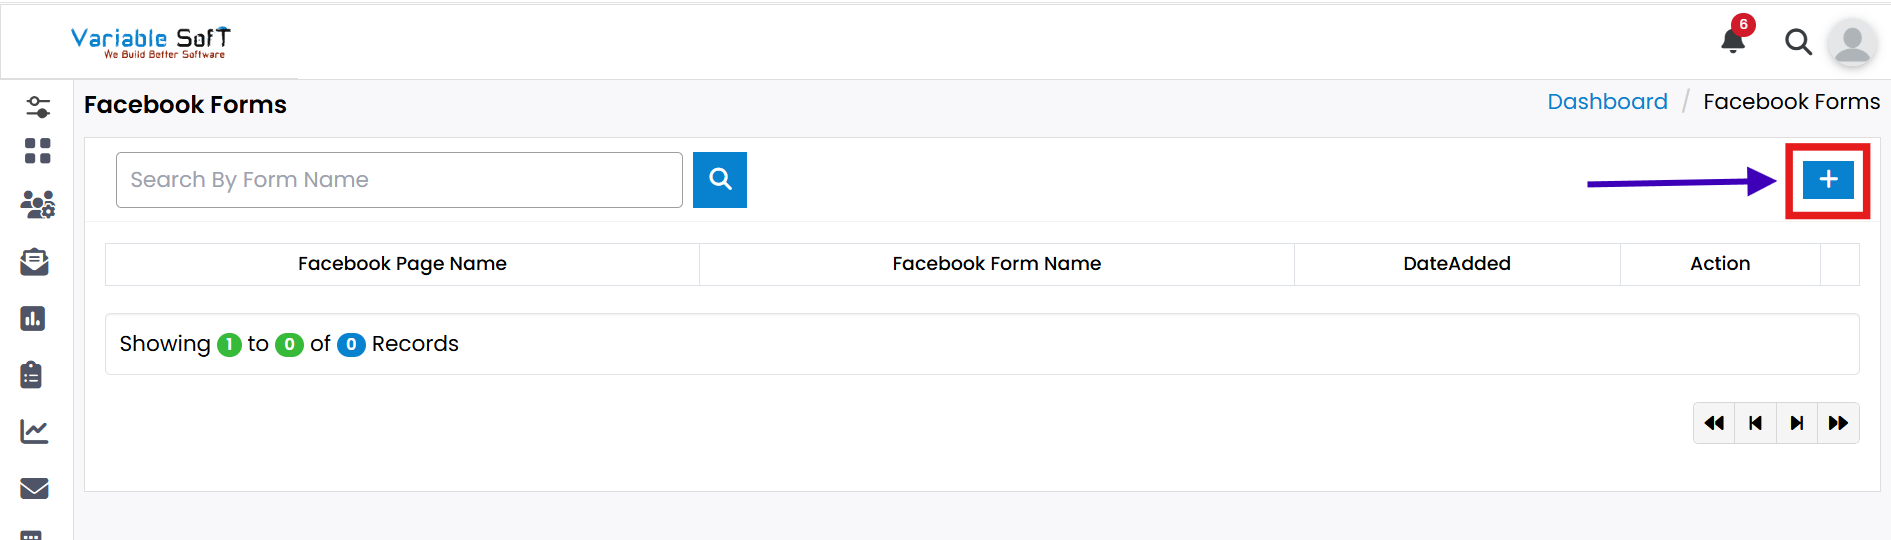
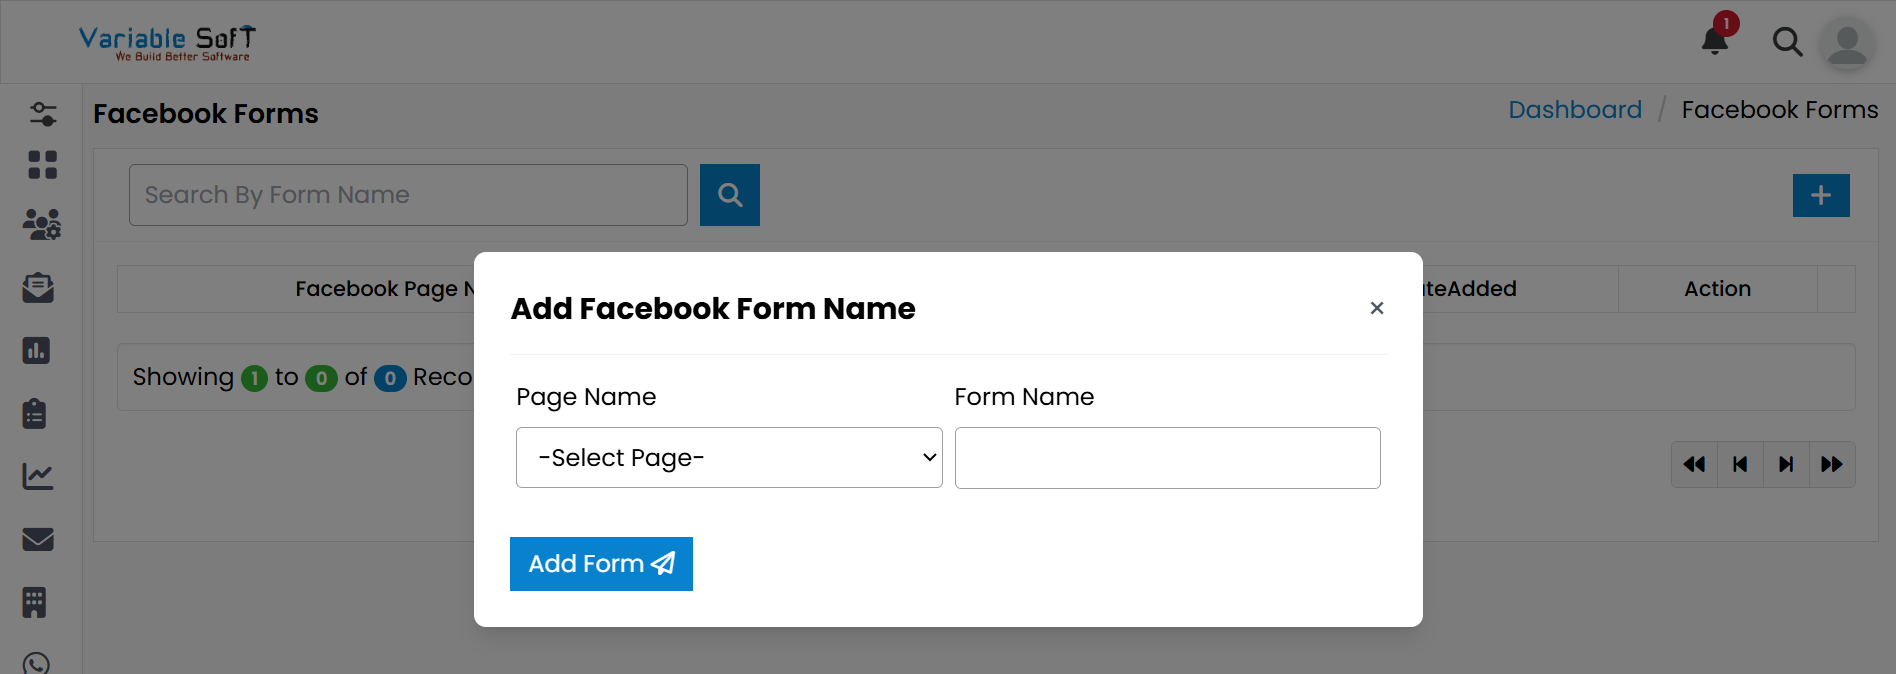
    • View FaceBook Form Detail: See and manage your Facebook forms.
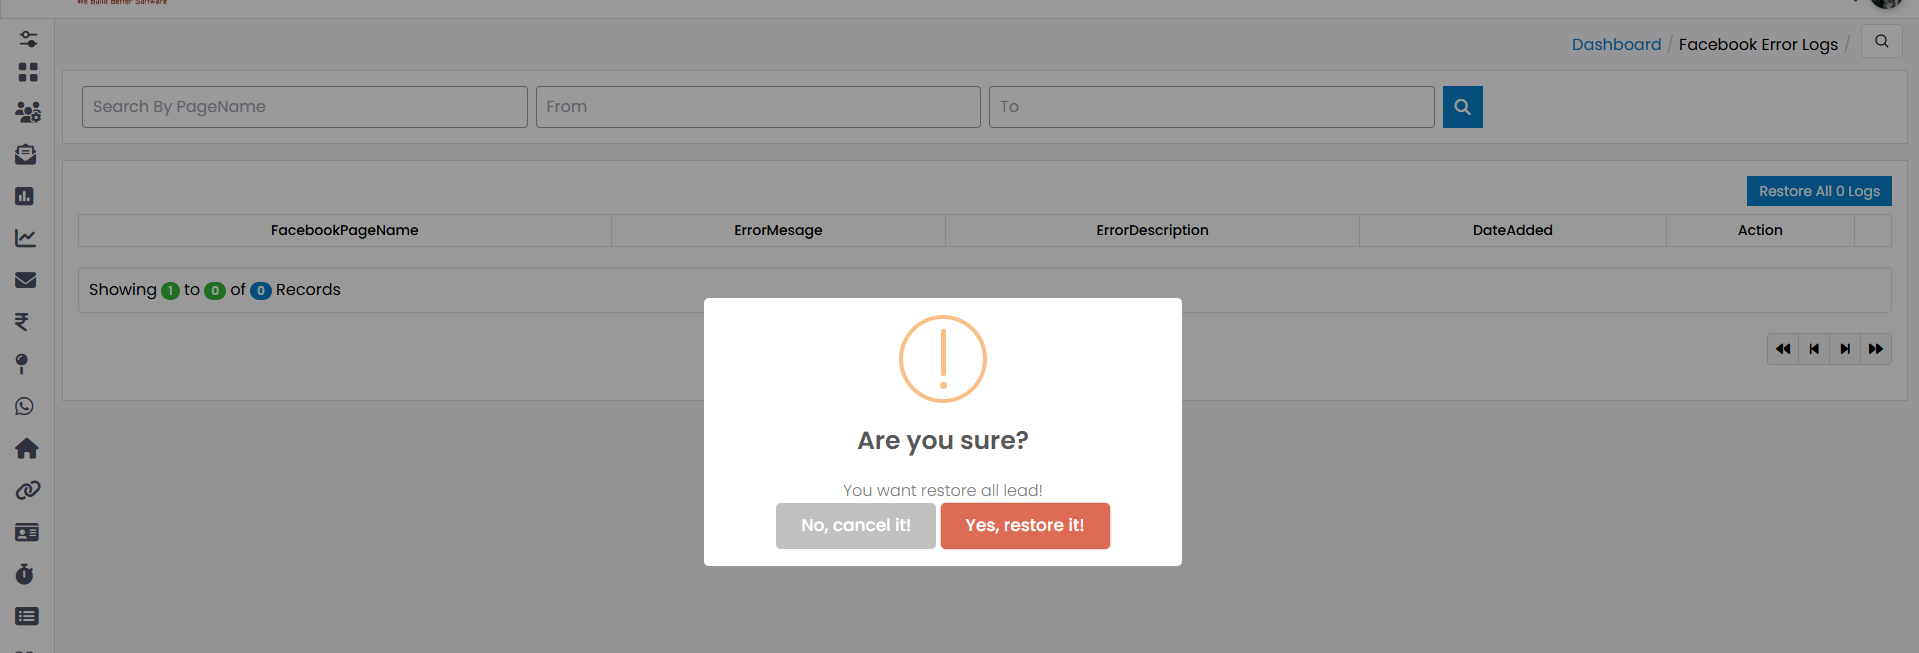
    • Review and restore Error Logs: Handle any sync or permission issues.
FBIntegration

Pro Tip

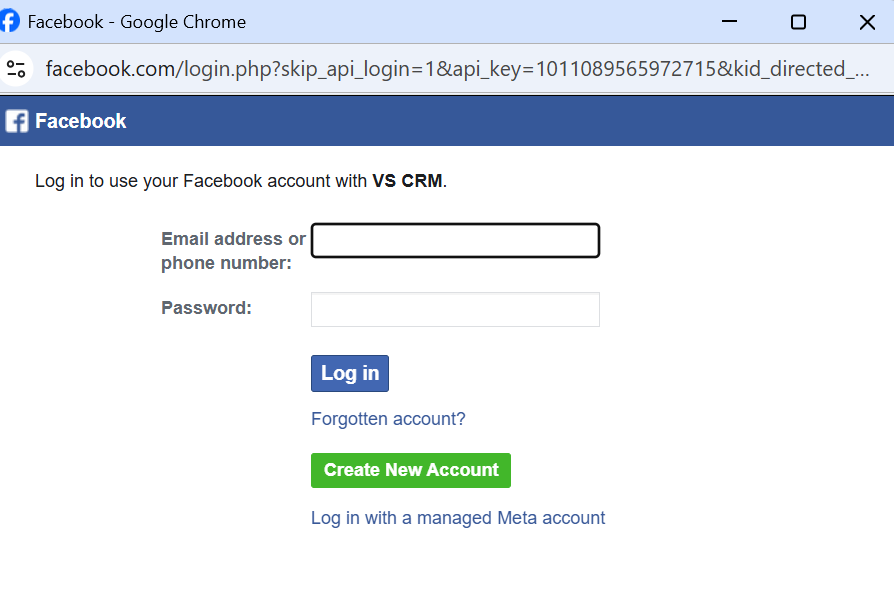
Keep your Business Manager access handy. You’ll be asked to grant permissions for Pages, Forms (Leads), and related assets.

Add FaceBook Integration

1

Click the Add FaceBook Integration button on the top right.

2

Log in to Facebook (Business Login) and continue with your account.

3

Choose how VS CRM can access your Pages:

  • Opt in to all current and future Pages (recommended), or
  • Opt in to current Pages only if you want to limit scope.
4

Select the Business you want to connect:

5

Pick one or more businesses, or use Select all if available.

6

Review the requested permissions (manage business, access leads for your Pages, read Page content, create/manage ads, manage webhooks, and list Pages you manage), then click Save.

7

After confirmation, you will see a success screen indicating your account is connected to VS CRM. Click Got it.

8

You will be redirected back to the integration page and see a success prompt such as Successfully retrieved pages. Your Pages will now be available for lead syncing.

Tip for a smooth connect

If you manage multiple businesses, connect the one that owns the Page forms producing leads. Grant “current and future” access to avoid reconnecting when new Pages are added.

FaceBook Form Detail

1

Click FaceBook Form Detail to open the Facebook Forms page.

2

To add a new form mapping, click the Add button.

3

An Add Facebook Form Name pop-up appears. Provide the required information as per your Page and form setup.

4

Click Add Form to finalize the addition.

FacebookForms

Mapping tip

Name forms clearly (e.g., “Summer Campaign – Lead Ad”) so your team can map questions to CRM fields without confusion.

Error Logs

1

Open Error Logs to review any sync or permission issues.

2

Use the Restore All No. Logs button to restore items in bulk.

3

A confirmation prompt appears: Are you sure you want to restore it?

4

If you are not sure, click No, Cancel It!

5

If you want to proceed, click Yes, Restore It.

Troubleshooting

If leads do not arrive, re-check Page permissions, confirm the selected Business is correct, and ensure the correct Page/Form is mapped in FaceBook Form Detail.