Push APIs
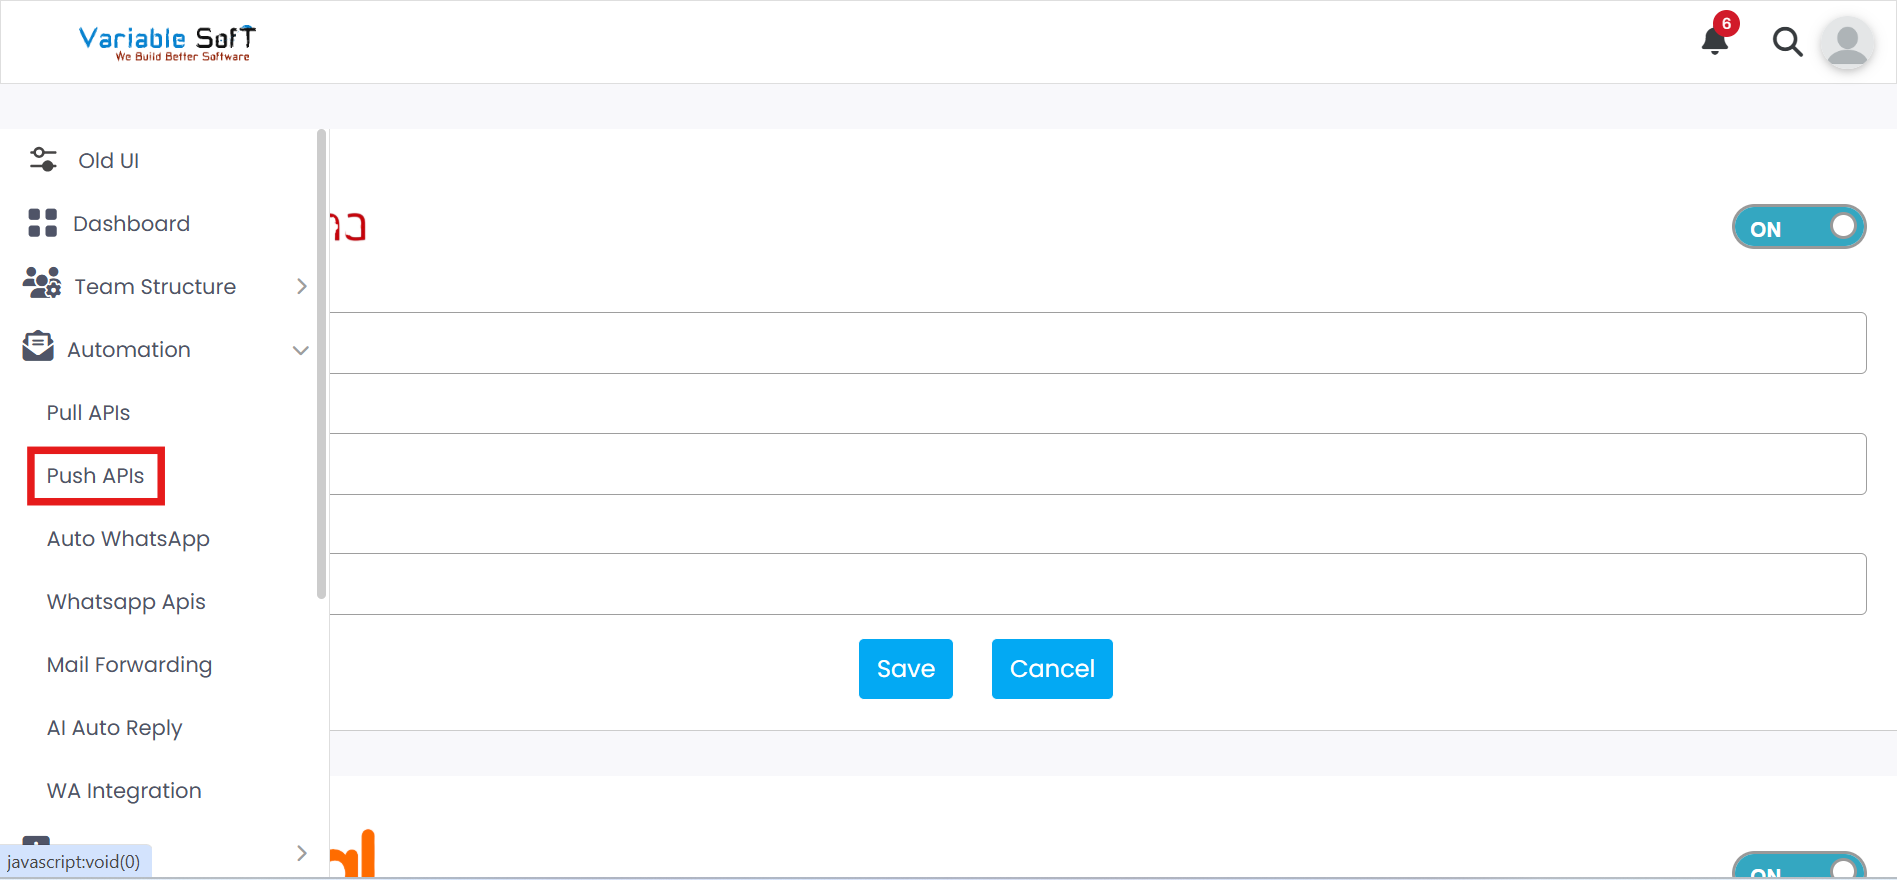
To access this feature, open your CRM Dashboard and click on Automation. From the dropdown menu, select Push APIs to open the Push APIs page.
Setup Instructions
-
Step 1
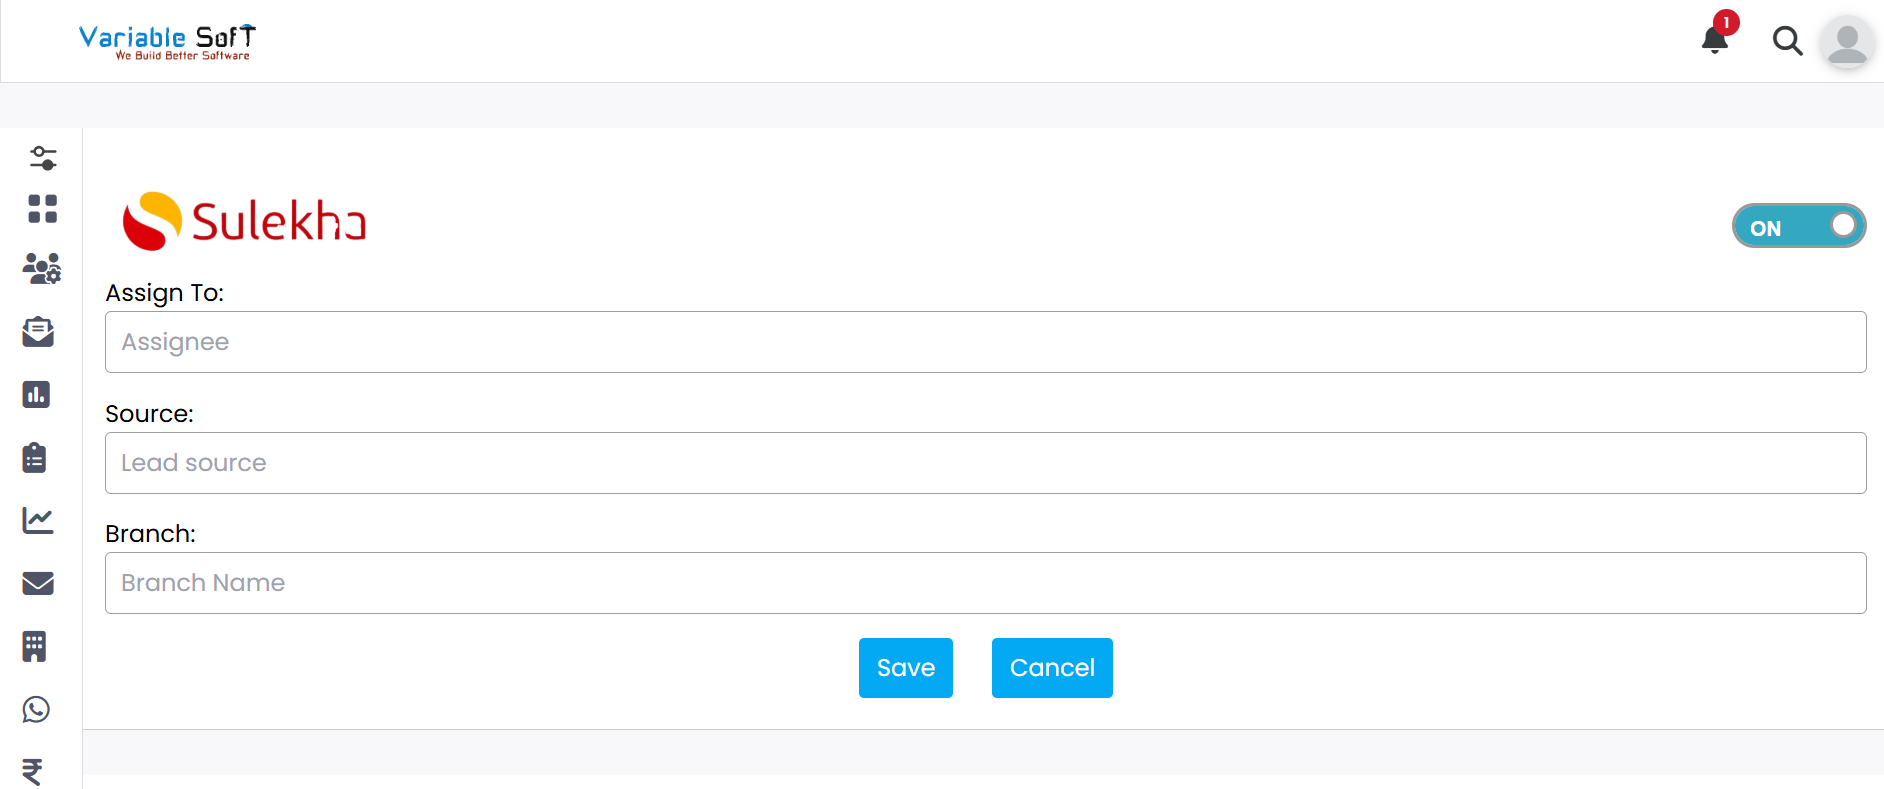
Push APIs are used to receive leads from integrated vendors directly into VS CRM. Once leads are pushed, you can assign them to the right users, define lead source, and manage vendor data in a structured way.
-
Step 2
To assign these leads, fill in all the required details such as Assignee, Lead Source, and Branch Name.
-
Step 3
Click on the Save button to save the information and assign the leads as per your configuration.
-
Step 4
If you want to clear the data of that vendor, click on the Cancel button. A confirmation prompt will appear: "Are you sure you want to Clear it?" — click No, Cancel It! if you are unsure or Yes, Clear It if you want to proceed. The vendor data will then be successfully cleared.
-
Step 5
Leads come instantly after integration, ensuring that your team can start working on new enquiries without delay.
Pro Tip: Save Time
Always double-check the Lead Source and Branch Name before saving — this ensures accurate mapping and avoids confusion later when tracking performance.