Pull APIs
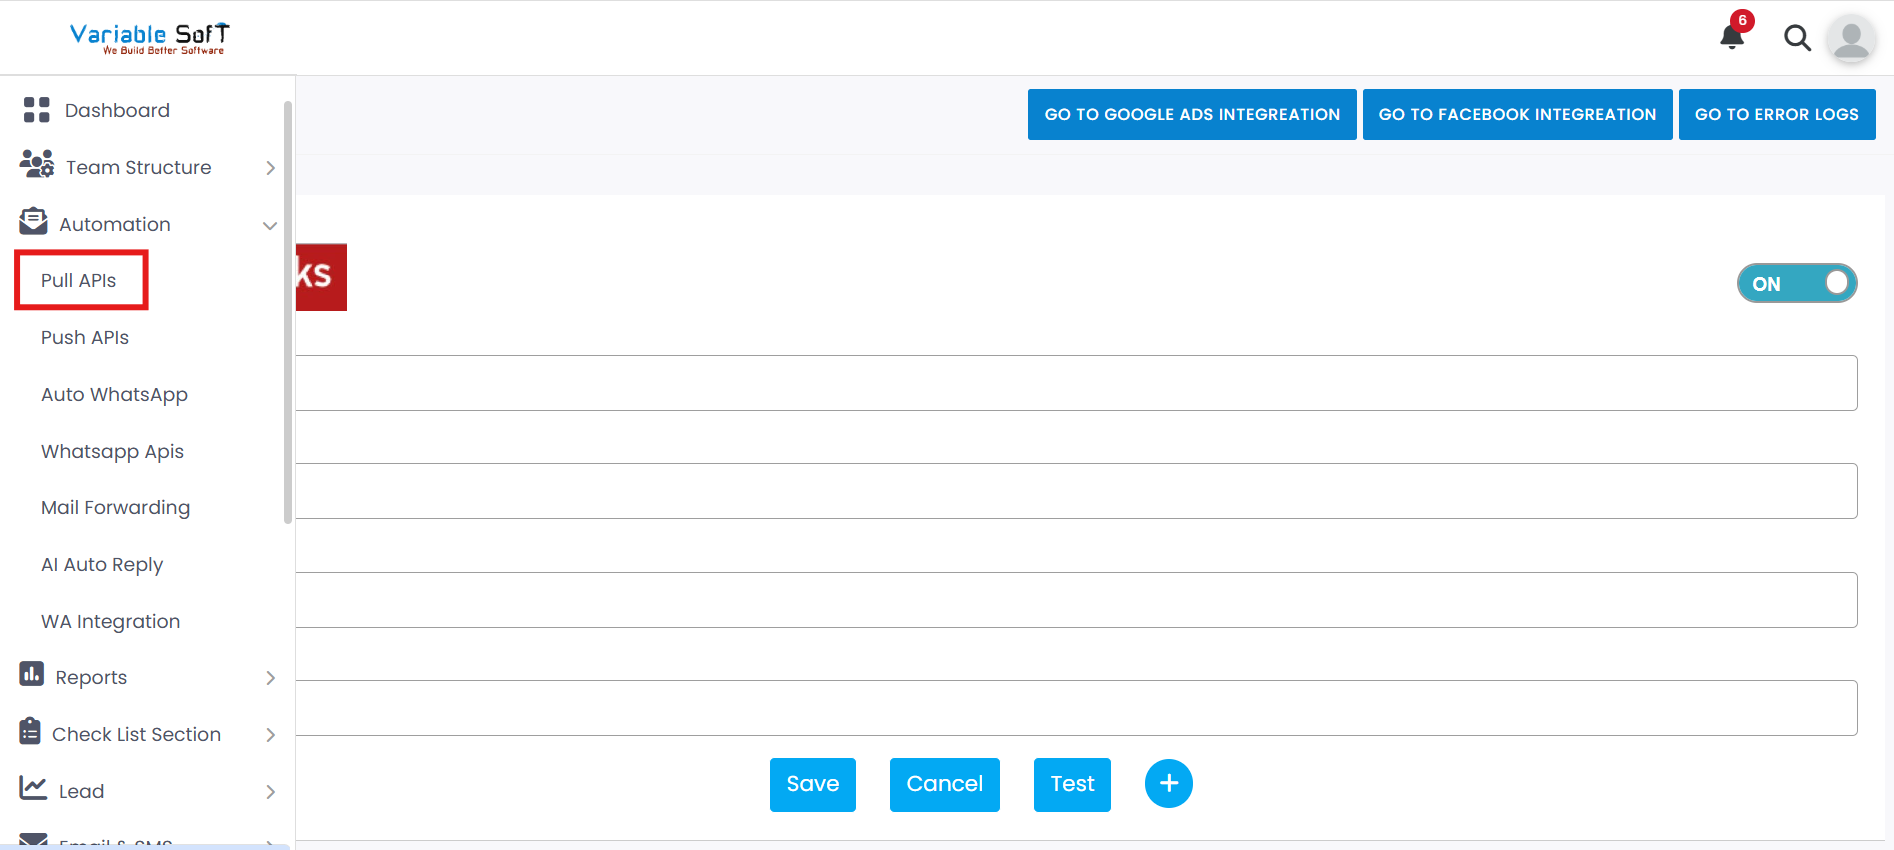
To access this feature, open your CRM Dashboard and click on Automation. From the dropdown menu, select Pull APIs to open the Pull APIs page.
Setup Instructions
-
Step 1
Leads are received from vendors after integration, allowing you to organize and utilize the data effectively.
-
Step 2
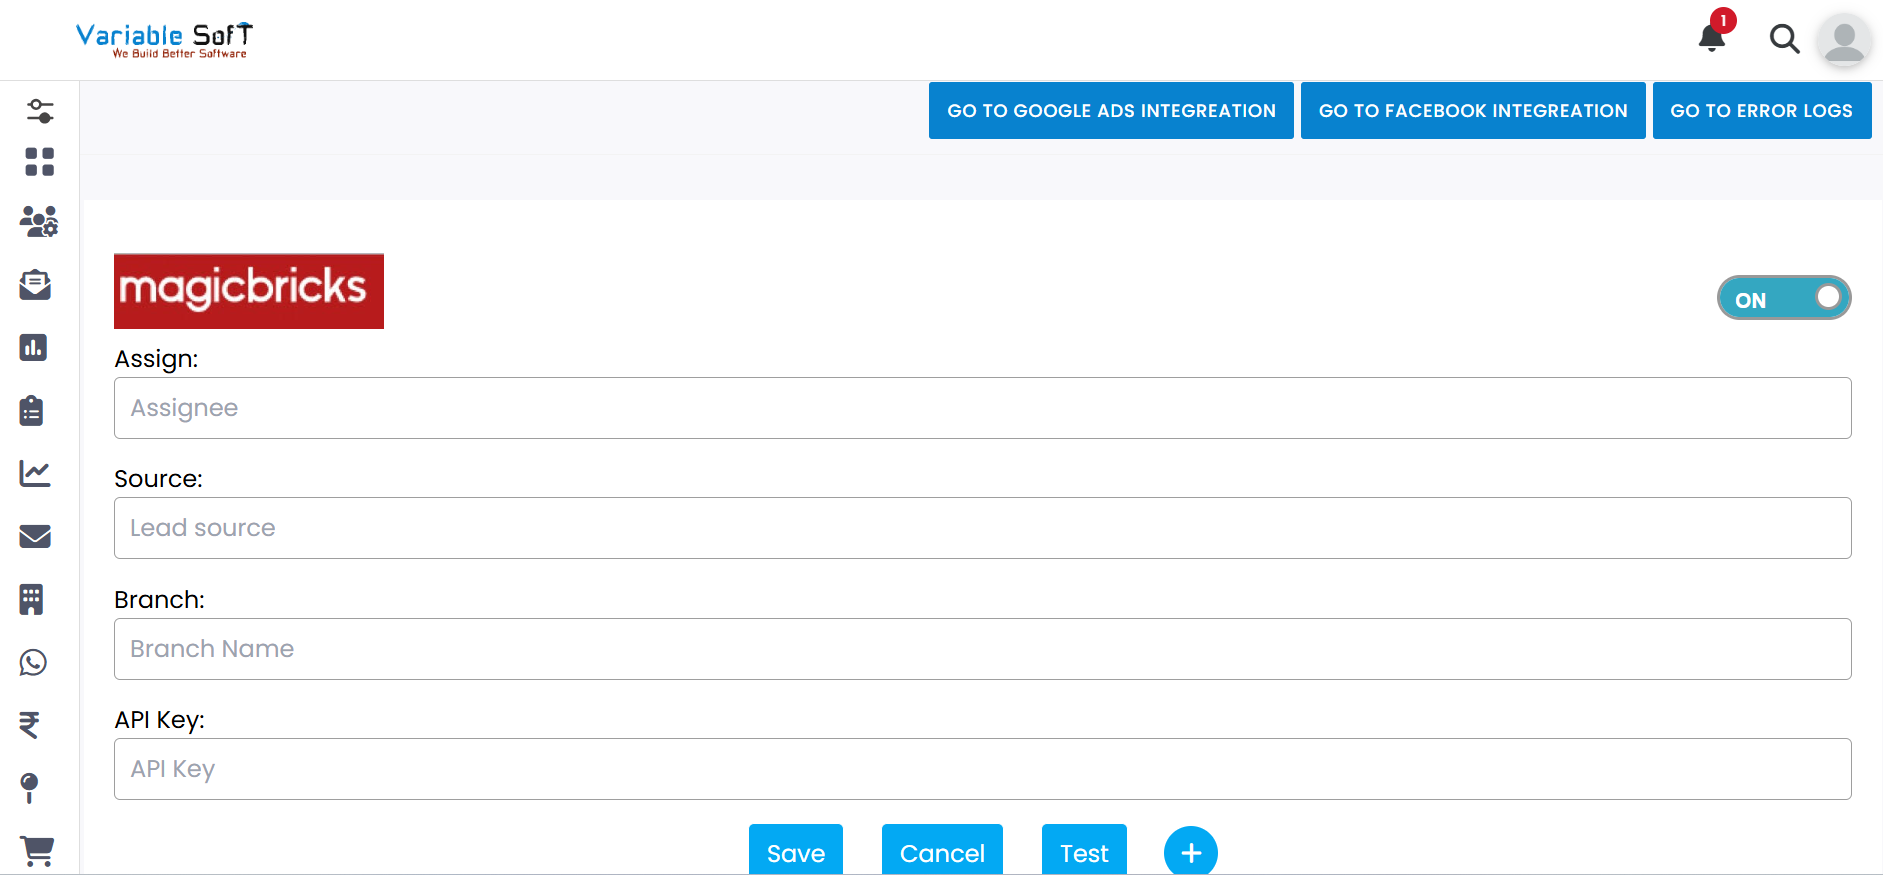
To assign these leads, fill in all the required details such as Assignee, Lead Source, Branch Name, and API Key.
-
Step 3
Click on the Test button to verify the configuration. The API Key will be triggered here for validation.
-
Step 4
If the test is successful, click on the Save button to save the information.
-
Step 5
If you want to clear the data of that vendor, click on the Cancel button. A confirmation prompt will appear asking "Are you sure you want to Clear it?" If you are unsure, click No, Cancel It!. If you are certain, click Yes, Clear It. The vendor data will then be successfully cleared.
-
Step 6
If you want to add the same vendor again, click on the Add button.
-
Step 7
If you want to delete a vendor that was previously added, click on the Delete button. A confirmation prompt will appear asking "Are you sure you want to delete it?" If you are unsure, click No, Cancel It!. If you are certain, click Yes, Delete It. The vendor will then be successfully deleted.
-
Step 8
On this page, you will also see the following quick access options:
- Go To Google Ads Integration
- Go To Facebook Integration
- Go To Error Logs
-
Step 9
Please note: Leads may take approximately 10 to 15 minutes to appear after integration.
Pro Tip: Verify Before Saving
Always run the Test before saving to ensure the API details and vendor data are correct.