Scheduled
Scheduled Instructions
-
Step 1
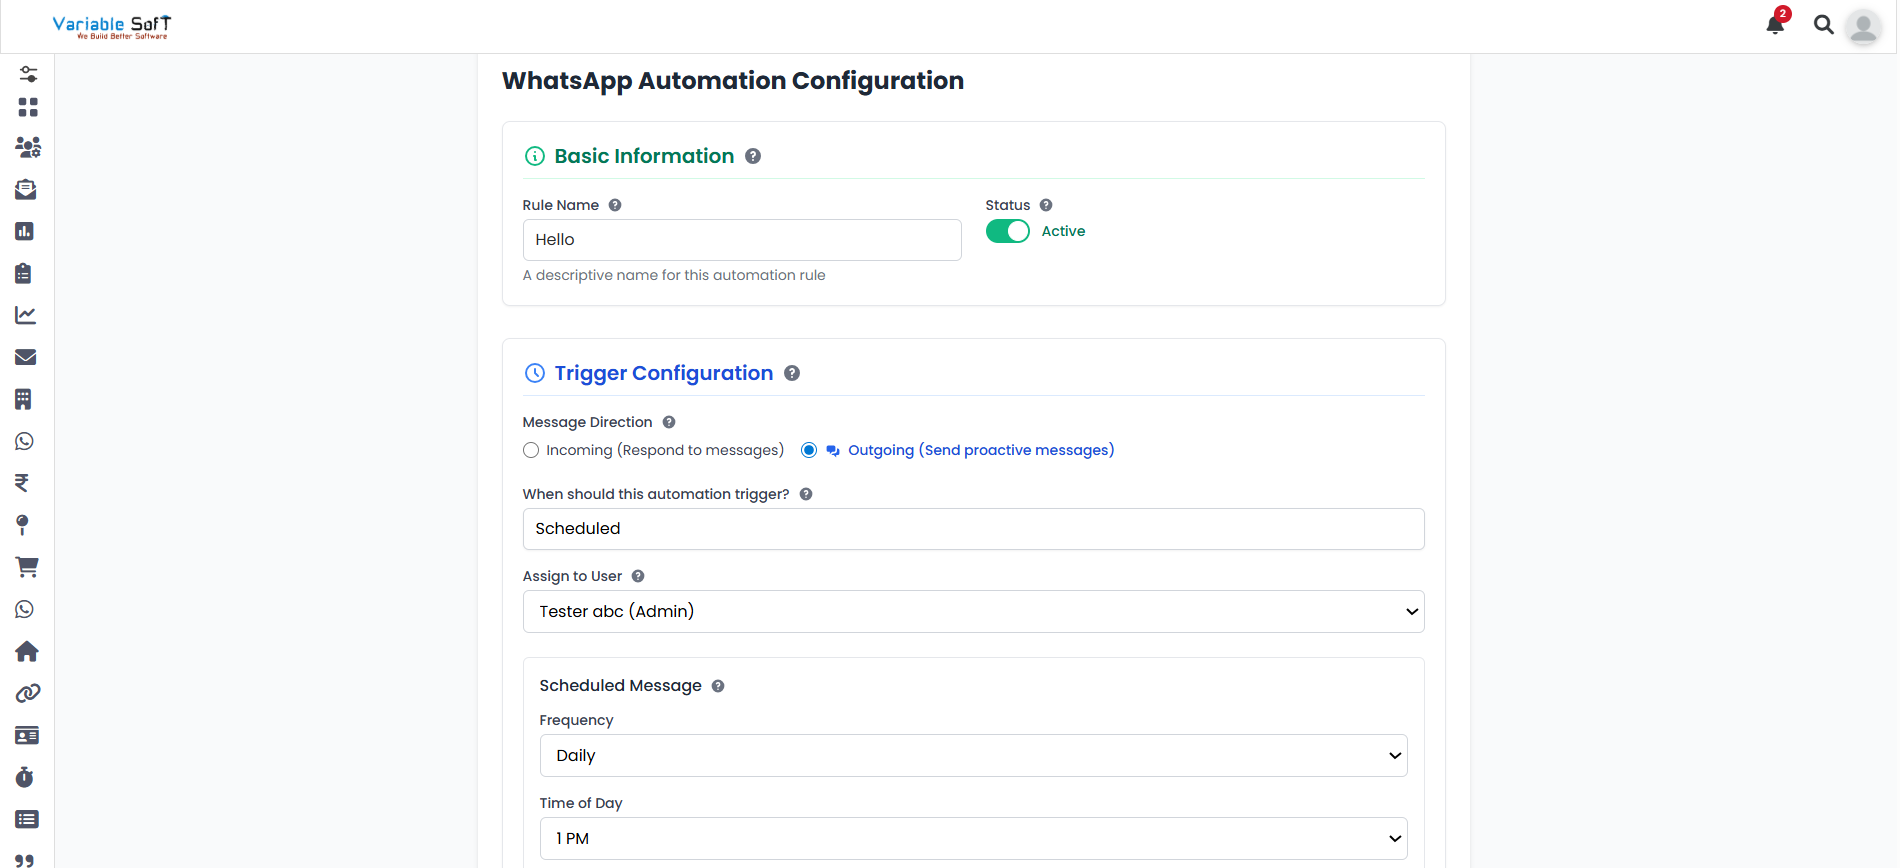
When you click on the Add Sequences button, a WhatsApp Automation Configuration page will open. Here, you have to fill in the basic information first.
-
Step 2
After that, in the Trigger Configuration section, click on Outgoing (Send proactive messages). There, you will see the option “When should this automation trigger?”. If you choose the Scheduled option, you’ll need to select a user to assign.
-
Step 3
Now, in the Scheduled Message section, select the Frequency and Time of Day according to your requirement.
-
Step 4
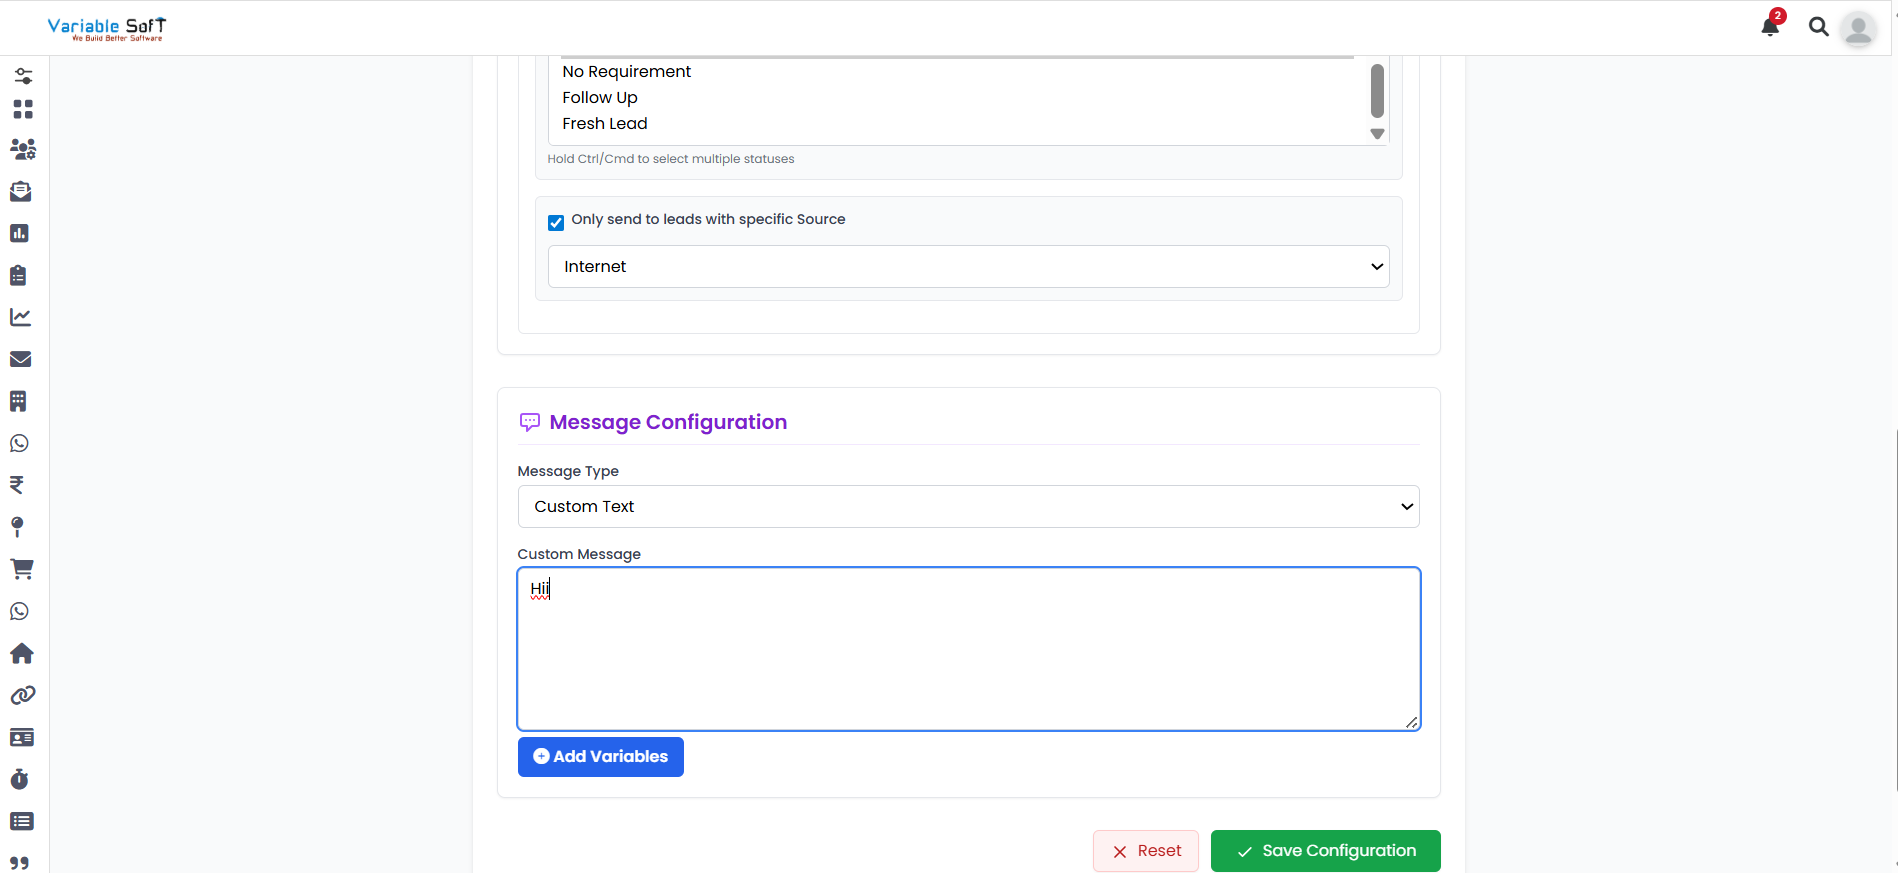
After setting up the schedule, choose a specific status to send leads only to them according to your requirement. Then, select a specific source for sending leads only to them according to your requirement.
-
Step 5
Finally, in the Message Configuration section, select the Message Type according to your requirement. Once you choose a message type, additional options will appear — fill them based on your needs.
-
Step 6
After confirming all your details, click on the Save Configuration button. Your sequence will be successfully added.
⚠️ Important Note
Make sure to carefully select your frequency, time, and message type to ensure your scheduled sequence runs exactly as intended.